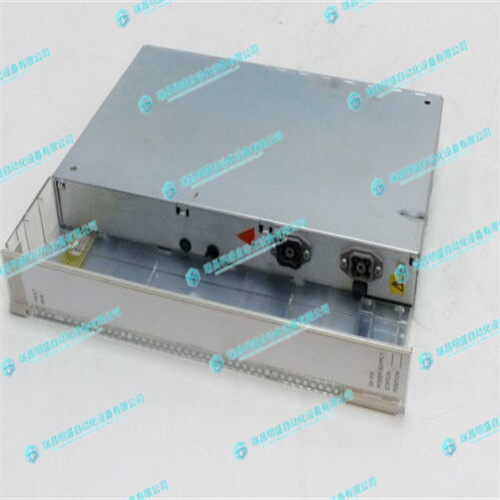
ABB SA610 3BHT300019R1电源模块
展开位置Y4的驱动器类型组,选择位置Y4中的754-1驱动器C选项3。展开位置X4的驱动类型组,选择位置X4中的755-1驱动C选项此选项为定位器轴添加驱动模块。注意!使用最新的驱动系统时,请执行以下操作:向下滚动至DriveModule1>驱动模块配置组;选择“驱动系统09 120/140/1400/1600紧凑型”选项;展开“电源配置”组,然后选择“单相电源”或“三相电源”(如适用)>“附加轴驱动模块”>“附加驱动1”。展开位置X3中的驱动类型组,选择位置X3中驱动ADU-790A选项2。展开位置Y3的驱动器类型组,选择位置Y3中的驱动器ADU-790A选项
Expand the Drive type in position Z3 group and select the Drive ADU-790A in
position Z3 option
4. Click Finish and the system will be created. When starting the system in a RobotStudio
station, you have to set up the system to load a model for the positioner and to get the
motions to work properly. See Placing external axes on page 86 for more information.This is an overview of the RobotWare options to set when creating a system for positioner
external axes. Note that besides setting the RobotWare options, you must add an additonal
option key for the positioner.
Media pools and option keys for the positioners
If you have the media pool and option key for your positioner, you can use these files.
If not, media pools for standard positioners are installed with RobotStudio. The path to these
media pools in a default installation is: C.\program files\ABB Industrial IT\Robotics
IT\MediaPool. In this folder a media pool for each positioner is located. These are named by
the article number of the positioner, with a suffix that indicates if it is configured for a singlerobot or a MultiMove system


