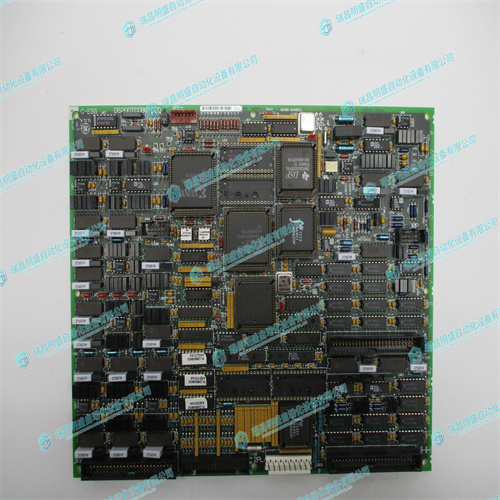
GE DS200TCCBG1B数字量输入卡件
将PQM设置点保存/打印到文件Z要将设置点保存到文件,请选择文件>另存为菜单项。Z输入文件名以保存当前设置点,然后单击OK(确定)。使用pqm设置点文件的扩展名“.pqm”。要打印设置点或实际值,请选择File(文件)>print Setup(打印设置)菜单项。Z选择设置点(启用功能)、设置点(全部)、实际值或用户可定义内存映射中的一个,然后单击确定。Z确保打印机已设置并联机。Z选择File(文件)>Print(打印)菜单项,然后单击OK(确定)以打印设定值6.4.3将新固件加载到PQM中。对于引导代码版本为2.00或更高的PQM继电器,如果显示器为VFD(真空荧光显示器),则在上载过程中不会出现Upload(上载)消息;它只出现在带有LCD(液晶显示器)的装置上。Z选择通信>升级固件菜单项。将出现警告窗口。Z选择Yes(是)继续或No(否)中止过程。除非您已将第6.4.2节:保存/打印PQM设定值至上述文件中所示的当前设定值保存,否则不要继续。
Save/Print PQM Setpoints to a File Z To save setpoints to a file, select the File > Save As menu item. Z Enter the filename to save the current setpoints and click OK. Use the extension “.pqm” for PQM setpoint files.o print setpoints or actual values, select the File > Print Setup menu item. Z Select one of Setpoints (Enabled Features), Setpoints (All), Actual Values, or User Definable Memory Map and click OK. Z Ensure the printer is setup and on-line. Z Select the File > Print menu item and click OK to print the setpoints 6.4.3 Loading New Firmware into the PQM For PQM relays with Boot code versions 2.00 and higher, the Upload message will not appear during the upload process if the display is a VFD (Vacuum Fluorescent Display); it only appears for units with an LCD (Liquid Crystal Display). Z Select the Communication > Upgrade Firmware menu item. A warning window will appear. Z Select Yes to proceed or No the abort the process.Do not proceed unless you have saved the current setpoints as shown in Section 6.4.2: Save/Print PQM Setpoints to a File above.


