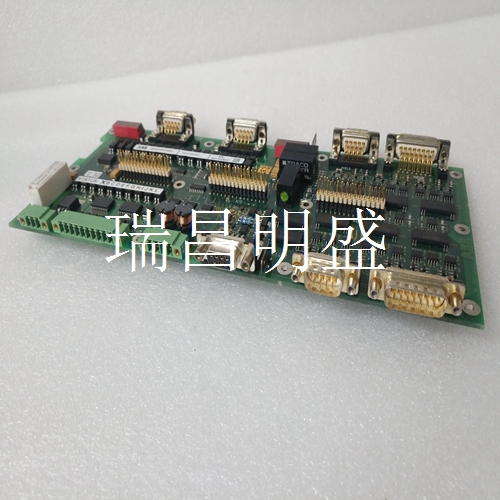
ABB UAD142A01 3BHE012551R0001 模拟量输入模块
45MLA-IN002C-EN-P-2020年8月45MLA控制器安装说明4.超高超高输出(Out 2)是一个离散的开关输出,在任何光束中断时默认激活。(默认光束oh=光束1)要设定超高级别,请将允许的最高对象放置在灯光阵列的范围内,然后短按“设定”按钮。状态指示器D14现在应该保持亮起,这表明现在已经设置了允许的最高物体光束。下一个不间断光束被设置为“哦”光束。在该设定过程结束时,如果任何以“oh”或更高开头的光束被中断,则超高输出(Out 2)被激活。5.配置区域如果此时不希望配置特定区域,请按住“设定”按钮,直到状态指示器D14熄灭(约5秒),这表示设定过程结束。如果您希望配置感应区域(对应于输出3…6),请短暂按下示教按钮进入区域设置并遵循以下步骤:a.区域1:当您进入区域设置时,状态指示器D10和D14闪烁,表示区域1已准备好进行示教。将表示区域1大小的对象放置到灯光阵列的范围中。现在按下示教按钮以建立最高和最低中断光束,这定义了区域1。b。区域2:状态指示灯D11和D14在步骤a之后闪烁,这表示可以示教区域2。如步骤a所示,将一个代表区域2大小的对象放置在灯光阵列的范围内,然后按下“示教”按钮。c、 区域3:状态指示灯D12和D14在步骤b后闪烁,表示区域3可以设定。再次,将一个对象放置在灯光阵列的范围内,以表示区域3的大小,然后按下“示教”按钮。d、 区域4:状态指示灯D13和D14闪烁,表示可以设定区域4。将一个物体放在灯光阵列的范围内,以表示区域4的大小,然后按下示教按钮。状态指示器D14现在保持打开,它确认区域的所有参数都已临时存储在存储器中。
45MLA-IN002C-EN-P-20 August 45MLA controller installation instructions 4. The ultra-high and ultra-high output (Out 2) is a discrete switch output, which is activated by default when any beam is interrupted. (Default beam oh=beam 1) To set the superelevation level, place the highest allowed object within the range of the light array, and then press the Set button briefly. The status indicator D14 should now remain illuminated, indicating that the maximum object beam allowed has now been set. The next uninterruptible beam is set as the "oh" beam. At the end of this setting process, if any beam starting with "oh" or higher is interrupted, the superelevation output (Out 2) is activated. 5. Configuration area If you do not want to configure a specific area at this time, please press and hold the "Set" button until the status indicator D14 goes out (about 5 seconds), which means that the setting process is over. If you want to configure the sensing area (corresponding to the output 3... 6), briefly press the Teach button to enter the area setting and follow the steps below: a Zone 1: When you enter the zone setting, the status indicators D10 and D14 flash, indicating that zone 1 is ready for teaching. Place an object representing the size of Area 1 into the range of the light array. Now press the Teach button to establish the highest and lowest interrupt beam, which defines zone 1. b。 Zone 2: Status indicators D11 and D14 flash after step a, indicating that zone 2 can be taught. As shown in step a, place an object representing the size of area 2 within the range of the light array, and then press the Teach button. C. Area 3: status indicators D12 and D14 flash after step b, indicating that area 3 can be set. Again, place an object within the range of the light array to represent the size of area 3, and then press the Teach button. d. Zone 4: The status indicators D13 and D14 flash, indicating that zone 4 can be set. Place an object within the range of the light array to represent the size of area 4, and then press the Teach button. Status indicator D14 now remains open and confirms that all parameters of the area have been temporarily stored in memory.


