


")
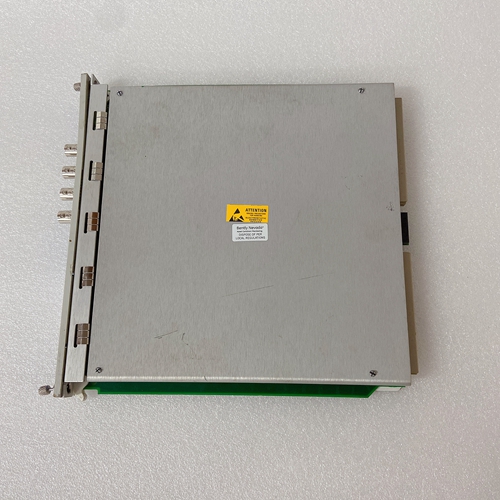
BENTLY 176449-03振动监测器
如果检测到RAM故障,将显示“I”,并停止驱动器。如果EPROM故障是:检测到,显示“c”,驱动器停止。用户配置非易失性存储器(EEPROM-电可擦除可编程只读存储器)的完整性。此数据中的任何差异为:状态显示中用“e”表示。成功完成通电后,任何后续EEPROM操作中的故障在状态显示中用“E”表示。看门狗:SERVOSTAR包含一个看门狗系统,用于维护软件运行诚实正直看门狗机构故障会在状态显示器上显示三个条,并导致停下来。这通常表明存在严重问题。请联系Danaher Motion客户支持固件升级
Danaher Motion不时为其产品添加功能,以扩展其整体功能。
SERVOSTAR CD-Lite中添加的功能可以在客户现场轻松实现。这是通过直接从主机通过驱动器的串行端口下载新固件来完成。订购固件升级时,您将收到以下文件:
Lccd_xxx。emb-固件代码(xxx描述固件版本)。
余烬txt-固件升级实用程序
Cdlignit。exe-下载固件代码的windows应用程序
Ig。bat–用户如何在DOS模式下加入
燃烧exe-用户如何在DOS模式下加入
升级程序(在windows操作系统中)
1.关闭CD-LITE。
2.将DIP开关8和10更改为1(您可以在CD-LITE顶部找到)。
3.打开CD-LITE,确保CD-LITE上的七段式Led变为E。个性模块用于轻松配置多个CD-LITE伺服驱动器。一次伺服驱动后已配置和调整,该驱动器的参数上传到模块中。为了配置具有相同参数的附加伺服驱动器,模块插入这些驱动器,并且下载到驱动器中的参数。
存储在SSV文件中的相同参数存储在个性模块中。此外下载参数时,包括配置和保存命令。
个性模块有一个阴D-9接头,可插入前部的串行接头(C1)
CD-Lite的面板。个性模块上有两个开关和一个绿色LED:嵌入式开关用于将参数从驱动器上传到个性化模块。这个需要笔尖或类似的工具才能接触开关。需要按下开关至少2秒,以激活上传程序。在上传过程中,显示器将显示3个闪烁条,首先是下部,然后是中部,然后是上部。
轻松访问开关用于将参数从个性模块下载到驾驶按下此按钮可将个性化模块中的值下载到驱动器中。在下载时,CD-Lite显示屏显示3个闪烁条,首先是上部,然后是中部,然后是下部。此操作需要几秒钟。
绿色LED点亮,表示系统已通电。
If a RAM fault is detected, an ‘I’ is displayed and the drive is halted. If an EPROM fault is
detected, a ‘c’ is displayed and the drive is halted.
The user configuration non-volatile memory (EEPROM - Electrically Erasable Programmable
Read Only Memory) is also checked for integrity upon power-up. Any discrepancy in this data is
noted with an ‘e’ in the status display. After power-up is successfully completed, any subsequent
fault in the operation of the EEPROM is noted with an ‘E’ in the status display.
WatchDogs: The SERVOSTAR incorporates a watchdog system to maintain software operation
integrity. Failure of the watchdog mechanism displays three bars on the status display and causes the
drive to halt. This normally indicates serious problems. Please contact Danaher Motion Customer
Support.Firmware Upgrades
From time to time, Danaher Motion adds features to its products that expand their overall capabilities.
Features added to the SERVOSTAR CD-Lite can be easily implemented at the customer’s site. This is
accomplished by downloading new firmware via the drive’s serial port directly from a host computer.
When ordering a firmware upgrade, you receive the following files:
Lccd_xxx.emb - firmware code (xxx describe the firm ware version).
Ember.txt - firmware upgrade utility
Cdlignit.exe - windows application to download the firmware code
Ig.bat – for user how want to ember in DOS Mode
Ignite.exe - for user how want to ember in DOS Mode
Upgrade Procedure
(in windows operation system)
1. Turn off the CD-LITE.
2. Change the DIP switches 8 and 10 to 1 (you can find them on top of the CD-LITE).
3. Turn ON the CD-LITE, Make sure that the seven segment Led on the CD-LITE changes to E. The Personality Module is used to easily configure multiple CD-Lite servo drives. After one servo drive
has been configured and tuned, the parameters of that drive are uploaded into the module. In order to
configure additonal servo drives with the same parameters, the module is plugged into those drives and
the parameters downloaded into the drives.
The same parameters that are stored in an SSV file, are stored in the Personality Module. In addition,
when downloading the parameters, CONFIG and SAVE commands are included.
The Personality Module has a female D-9 connector to plug into the serial connector (C1) on the front
panel of the CD-Lite. The Personality Module has two switches and one green LED on it:
A recessed switch is used for UPLOADING parameters from the drive into the Personality Module. The
tip of a pen or some similar instrument is needed to access the switch. The switch needs to be pressed for
a minimum of 2 seconds in order to activate the upload procedure. During the upload, the display will
show 3 bars flashing, first the lower, then the middle, and then the upper.
An easy access switch is used for DOWNLOADING parameters from the Personality Module to the
drive. Pushing this button downloads the values from the Personality Module to the drive. During the
download, the CD-Lite display shows 3 bars flashing, first the upper, then the middle, and then the lower.
This action takes a few seconds.
The Green LED is lit to indicate that the system is powered on.

