


主营产品
PLC可编程控制器模块,DCS卡件,ESD系统卡件,振动监测系统卡件,汽轮机控制系统模块,燃气发电机备件等,优势品牌:Allen Bradley、BentlyNevada、ABB、Emerson Ovation、Honeywell DCS、Rockwell ICS Triplex、FOXBORO、Schneider PLC、GE Fanuc、Motorola、HIMA、TRICONEX、Prosoft等各种进口工业零部件
产品广泛应用于冶金、石油天然气、玻璃制造业、铝业、石油化工、煤矿、造纸印刷、纺织印染、机械、电子制造、汽车制造、塑胶机械、电力、水利、水处理/环保、锅炉供暖、能源、输配电等等
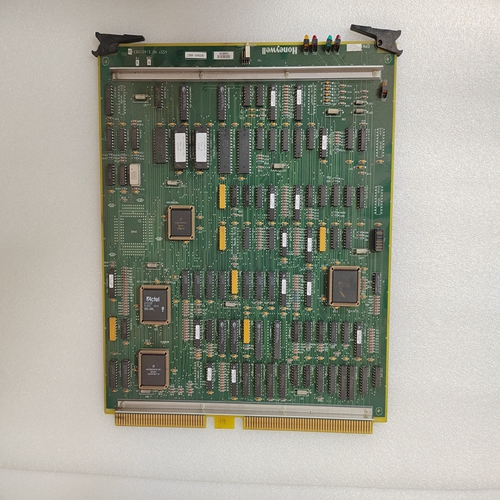
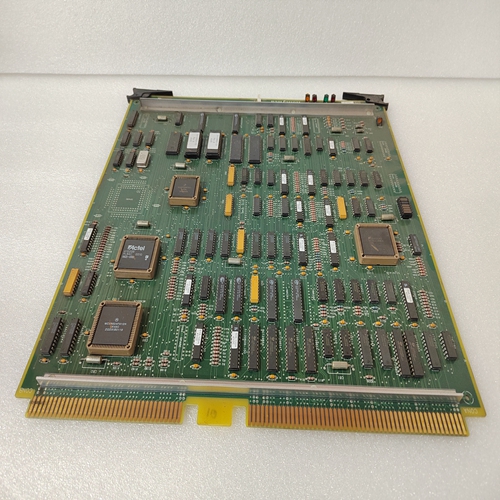
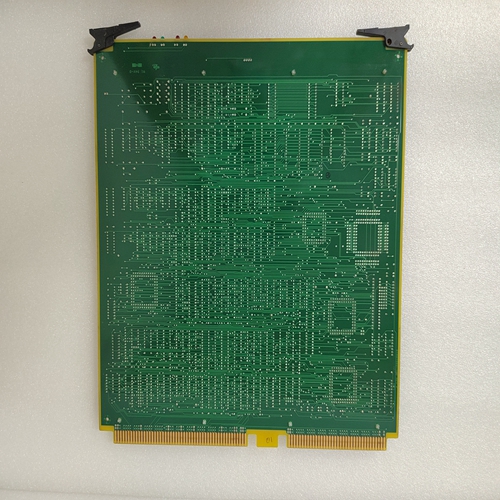
HONEYWELL 51401583-100输出卡件
确保喷油器/推料器手柄处于向下位置。将NI PXI-8105与顶部和底部的卡导轨对齐系统控制器插槽的。
注意:插入NI PXI-8105时,不要升起喷射器/喷射器手柄。
除非手柄处于向下位置,否则模块将无法正确插入,因此它不会干扰底盘上的喷油器导轨。
6.握住手柄,慢慢将模块滑入机箱,直到手柄卡在喷油器/推料器导轨上。
7.升起喷油器/喷射器手柄,直到模块牢固就位进入底板插座连接器。的前面板
NI PXI-8105应与机箱前面板齐平。拧紧顶部和底部的四个支架固定螺钉前面板,用于将NI PXI-8105固定至机箱。9.检查安装情况。
10.将键盘和鼠标连接到适当的连接器。如果你使用PS/2键盘和PS/2鼠标时,Y-splitter适配器是
可将两者连接到单个USB连接器。提到图4-1,Y型分离器电缆。
11.将DVI监视器视频电缆连接到DVI连接器。如果你是使用VGA监视器时,请使用随附的DVI到VGA适配器这是你的工具箱。
根据系统配置的要求将设备连接到端口。
13.接通显示设备的电源。
14.打开机箱电源。如何从PXI机箱中卸下控制器
NI PXI-8105控制器的设计便于操作。删除
从PXI机箱中取出单元,完成以下步骤:
1.关闭机箱电源。
2.拆下可能连接至控制器前面板的所有电缆。
3.拧下前面板上的支架固定螺钉。提到这些螺钉的位置见图2-1。
4.按下喷油器/喷射器手柄。
5.将装置滑出机箱。您可以在BIOS设置中更改NI PXI-8105配置设置。
BIOS是硬件和PC软件之间的低级接口它在启动系统时配置和测试硬件。这个
BIOS设置程序包括用于配置设置和启用的菜单NI PXI-8105控制器功能。
大多数用户不需要使用BIOS设置程序,如NI PXI-8105
控制器附带了适用于大多数情况的默认设置配置。
警告:更改BIOS设置可能导致不正确的控制器行为,并且可能:
不可启动控制器。如果发生这种情况,请按照恢复默认值的说明进行操作
系统CMOS部分中的设置。通常,除非您:绝对确定它做什么。
Make sure the injector/ejector handle is in its downward position.
Align the NI PXI-8105 with the card guides on the top and bottom
of the system controller slot.
Caution Do not raise the injector/ejector handle as you insert the NI PXI-8105.
The module will not insert properly unless the handle is in its downward position so
that it does not interfere with the injector rail on the chassis.
6. Hold the handle as you slowly slide the module into the chassis until
the handle catches on the injector/ejector rail.
7. Raise the injector/ejector handle until the module firmly seats
into the backplane receptacle connectors. The front panel of the
NI PXI-8105 should be even with the front panel of the chassis.Tighten the four bracket-retaining screws on the top and bottom of the
front panel to secure the NI PXI-8105 to the chassis.
9. Check the installation.
10. Connect the keyboard and mouse to the appropriate connectors. If you
are using a PS/2 keyboard and a PS/2 mouse, a Y-splitter adapter is
available to connect both to a single USB connector. Refer to
Figure 4-1, Y-Splitter Cable.
11. Connect the DVI monitor video cable to the DVI connector. If you are
using a VGA monitor, use the DVI-to-VGA adapter included with
your kit.
12. Connect devices to ports as required by your system configuration.
13. Power on the display device.
14. Power on the chassis.How to Remove the Controller from the PXI Chassis
The NI PXI-8105 controller is designed for easy handling. To remove the
unit from the PXI chassis, complete the following steps:
1. Power off the chassis.
2. Remove any cables that may be attached to the controller front panel.
3. Unscrew the bracket-retaining screws in the front panel. Refer to
Figure 2-1 for the location of these screws.
4. Press the injector/ejector handle down.
5. Slide the unit out of the chassis.You can change the NI PXI-8105 configuration settings in the BIOS setup.
The BIOS is the low-level interface between the hardware and PC software
that configures and tests your hardware when you boot the system. The
BIOS setup program includes menus for configuring settings and enabling
NI PXI-8105 controller features.
Most users do not need to use the BIOS setup program, as the NI PXI-8105
controller ships with default settings that work well for most
configurations.
Caution Changing BIOS settings may lead to incorrect controller behavior and possibly
an unbootable controller. If this happens, follow the instructions for restoring default
settings in the System CMOS section. In general, do not change a setting unless you are
absolutely certain what it does.

