


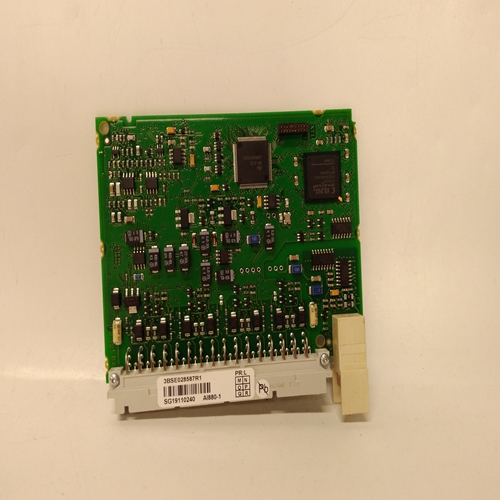
3BSE028587R1处理器卡件
安装以下说明适用于典型的安装布置。允许变更,前提是符合3.1总则的要求。
如果需要使用管状定位销来固定称重传感器的位置,参见图14中的说明。典型安装第21页。
1.清洁基础和其他安装表面。
2.将下适配器板安装到称重传感器上。将螺钉拧紧至表2中规定的扭矩。第20页。
3.将称重传感器和下部适配器板安装到基础上,但不要完全拧紧螺钉。
4.将上部适配器板安装到称重传感器上。将螺钉拧紧至表2中规定的扭矩。第20页。
将轴承箱和辊安装到上适配器板上,但不要完全拧紧螺钉。
小心
在此操作过程中,如果操作不小心,可能会使称重传感器过载足够了,尤其是如果卷很重。最关键的称重传感器自然是PFTL 101A-0.5 kN和PFTL 101 b-2 kN。倾斜安装的应用最为关键。
6.调整称重传感器,使其相互平行并与轴向一致卷的。拧紧地脚螺钉,参见图15。适配器板的安装和称重传感器的校准第21页。
7.调整辊,使其与称重传感器的纵向成直角。拧紧上部适配器板中的螺钉,见图15。适配器板的安装和对齐称重传感器第21页。全体的如果称重传感器和电缆已正确安装。控制单元的调试见相关章节控制单元手册的章节。
检查以下内容:
•称重传感器已正确安装和校准
•所有螺钉均已拧紧至正确扭矩
•所有电缆均正确安装和连接
•所有连接器均已插入
4.2准备计算
为了能够设置正确的测量范围,必须计算最大张力T下每个称重传感器的测量力FR/2。每个称重传感器承受总测量力的一半
FR。必须在开始调试之前进行此计算。描述了FR的计算
在2.5安装布置中。
Mounting
The instructions below apply to a typical mounting arrangement. Variations are allowed, provided
that the requirements of 3.1 General are complied with.
If it is necessary to use tubular dowel pins to secure the position of the load cell,
see instructions in Figure 14. Typical Installation page 21.
1. Clean the foundation and other mounting surfaces.
2. Fit the lower adapter plate to the load cell. Tighten the screws to the torque stated in Table 2.
page 20.
3. Fit the load cell and the lower adapter plate to the foundation, but do not fully tighten the
screws.
4. Fit the upper adapter plate to the load cell. Tighten the screws to the torque stated in Table 2.
page 20.
5. Fit the bearing housing and the roll to the upper adapter plate, but do not fully tighten the
screws.CAUTION
During this operation it is possible to over load the load cells if the operation is done not careful
enough, especially if the roll is heavy.
The most critical load cells are naturally the PFTL 101A-0.5 kN and PFTL 101B-2 kN.
Applications with inclined mounting are most critical.
6. Adjust the load cells so that they are in parallel with each other and in line with the axial direction
of the roll. Tighten the foundation screws, see Figure 15. Installation of Adapter Plates and Alignment of Load Cells page 21.
7. Adjust the roll so that it is at right angles to the longitudinal direction of the load cells.Tighten the
screws in the upper adapter plate, see Figure 15. Installation of Adapter Plates and Alignment of
Load Cells page 21.
General
The actual procedure for commissioning a load cell is simple, provided that the load cells and
cables have been properly installed. Commissioning of the control unit is described in the relevant
chapter of the control unit manual.
Check the following:
• that the load cells have been correctly installed and aligned
• that all screws have been tightened to the correct torque
• that all cables are correctly installed and connected
• that all connectors are plugged in
4.2 Preparatory Calculations
To be able to set the correct measuring range, the measurement force per load cell FR/2 at maximum tension T must be calculated. Each load cell is subjected to half the total measurement force
FR. This calculation must be done before commissioning can begin. Calculation of FR is described
in 2.5 Mounting Arrangement.

